
How to create - Line objects
1. Create a map picture covering the area of interest
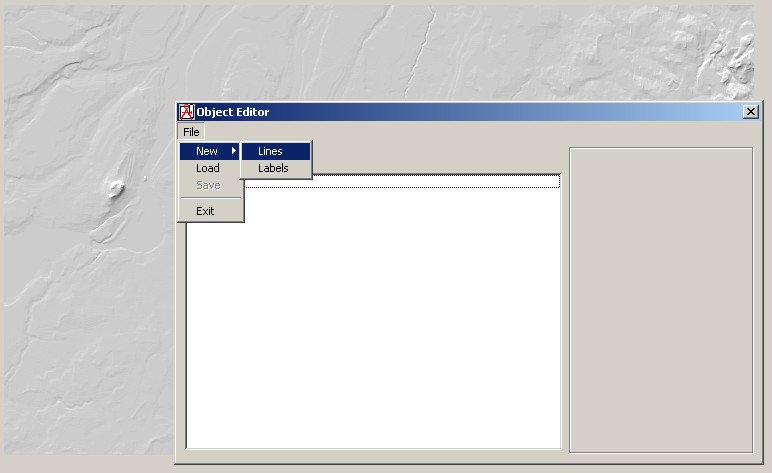
2. Select "Object Editor" in menu "Tools"
3. Select "File" "New" and "Lines" in menu"
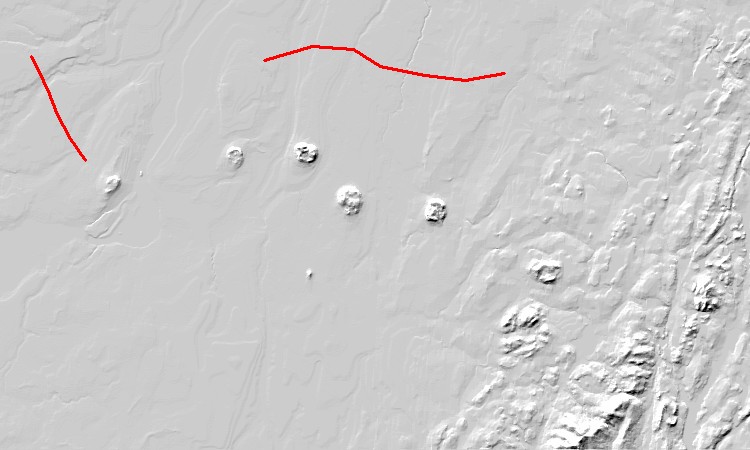
4. Click on the map picture to generate waypoints
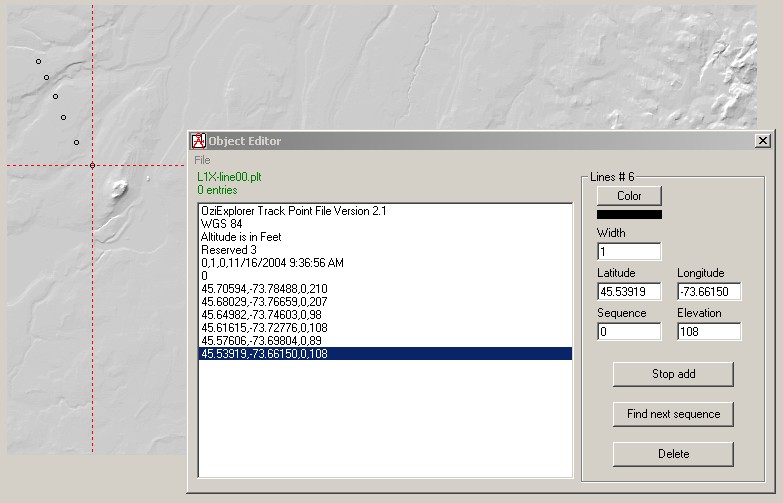
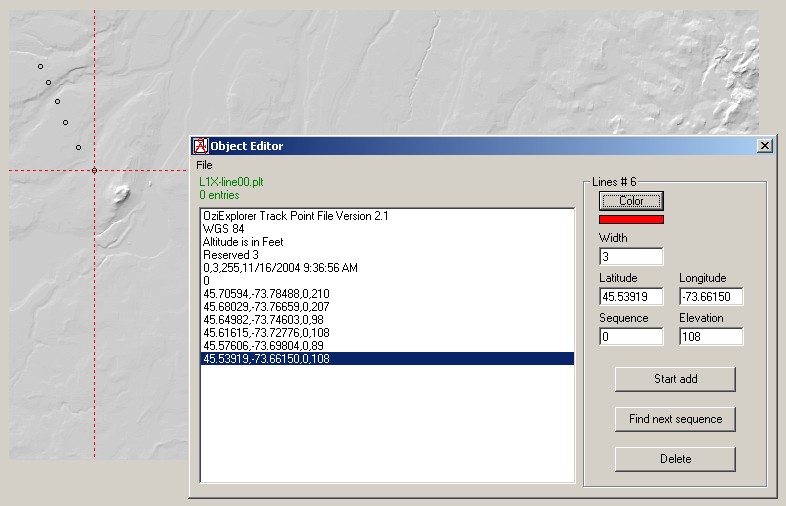
5. Select color and line width
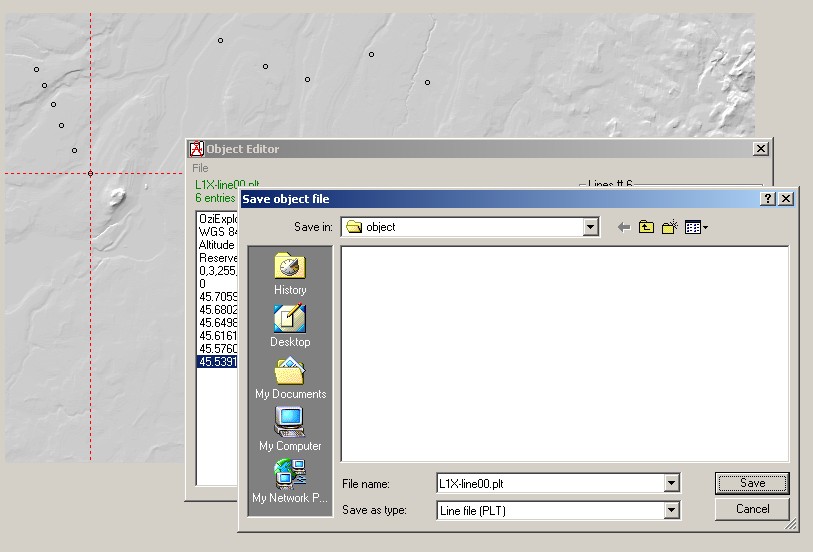
6. Select "File" "Save" in menu and save the file in an "Object" directory
7. Close object editor
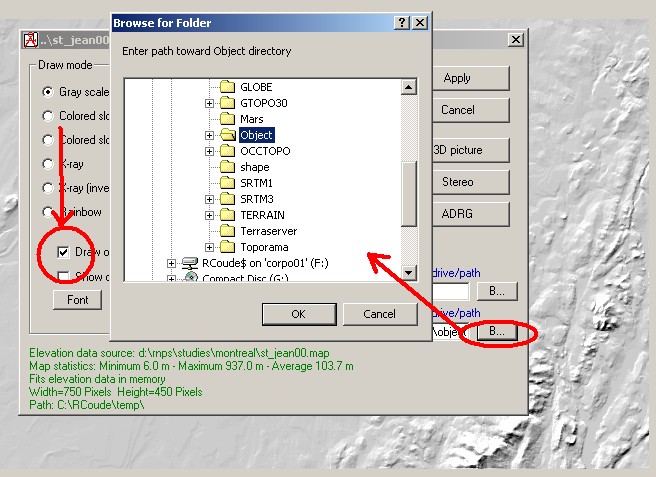
8. Select "File" "Picture properties" in menu, set the appropriate object directory and then "Apply"
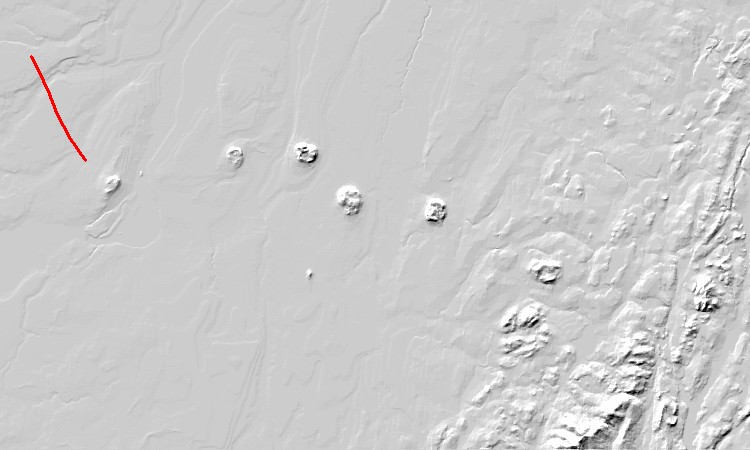
8. Bingo!
9. Select "Object Editor" in menu "Tools"
10. Select "File" "Load" in menu" and re-open the previous file
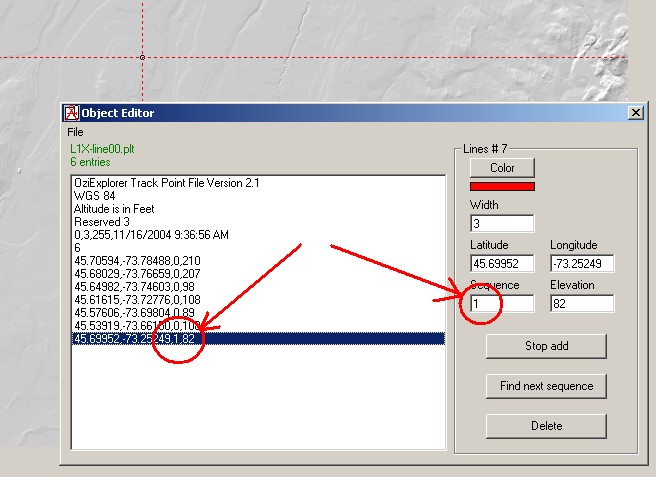
11. Click button "Start to add" and click only one time on the map to define a waypoint

12. Replace 0 by 1 in "Sequence" in order to make that waypoint the start of a new line
13. Continue to add waypoints to form a line
14. Click button "Stop to add" then finished with that line
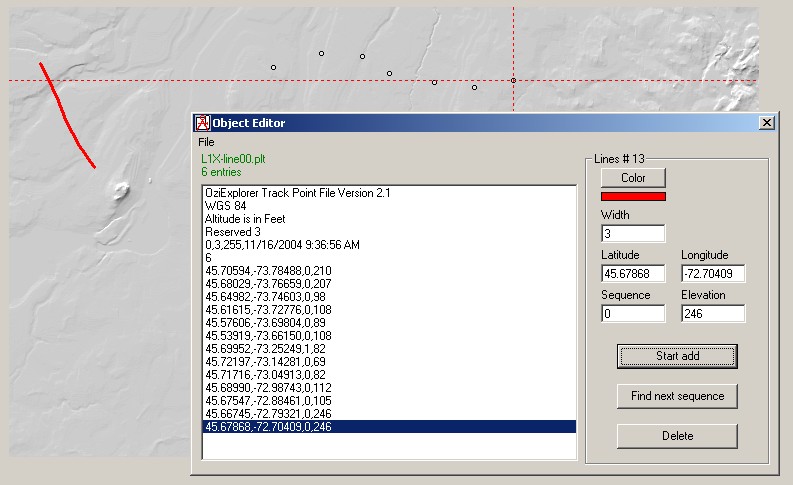
15. Save the file, close "Object Editor" and redraw the picture as before
Other things to know
-All lines in a same file are of the same width and color
-The first letters of the filename are used by the program:
--"L" means a line file, "F" means a filled area or polygon file
--"L2" will be drawn on top of "L1"
--In "F2M", the third letter "M" is reserved for transparent polygons
--As example: "F1X-Lakes01.plt", "F2M-Cities01.plt", "L3X-Secondary_roads01.plt", "L4X-Main_roads01.plt", etc